
Basic Sourdough Bread
When you’ve got a sourdough starter up and running, there’s really no end to what amazing baking you can get up to! But a great place to start - and a safe one to come back to - is a basic sourdough bread recipe.
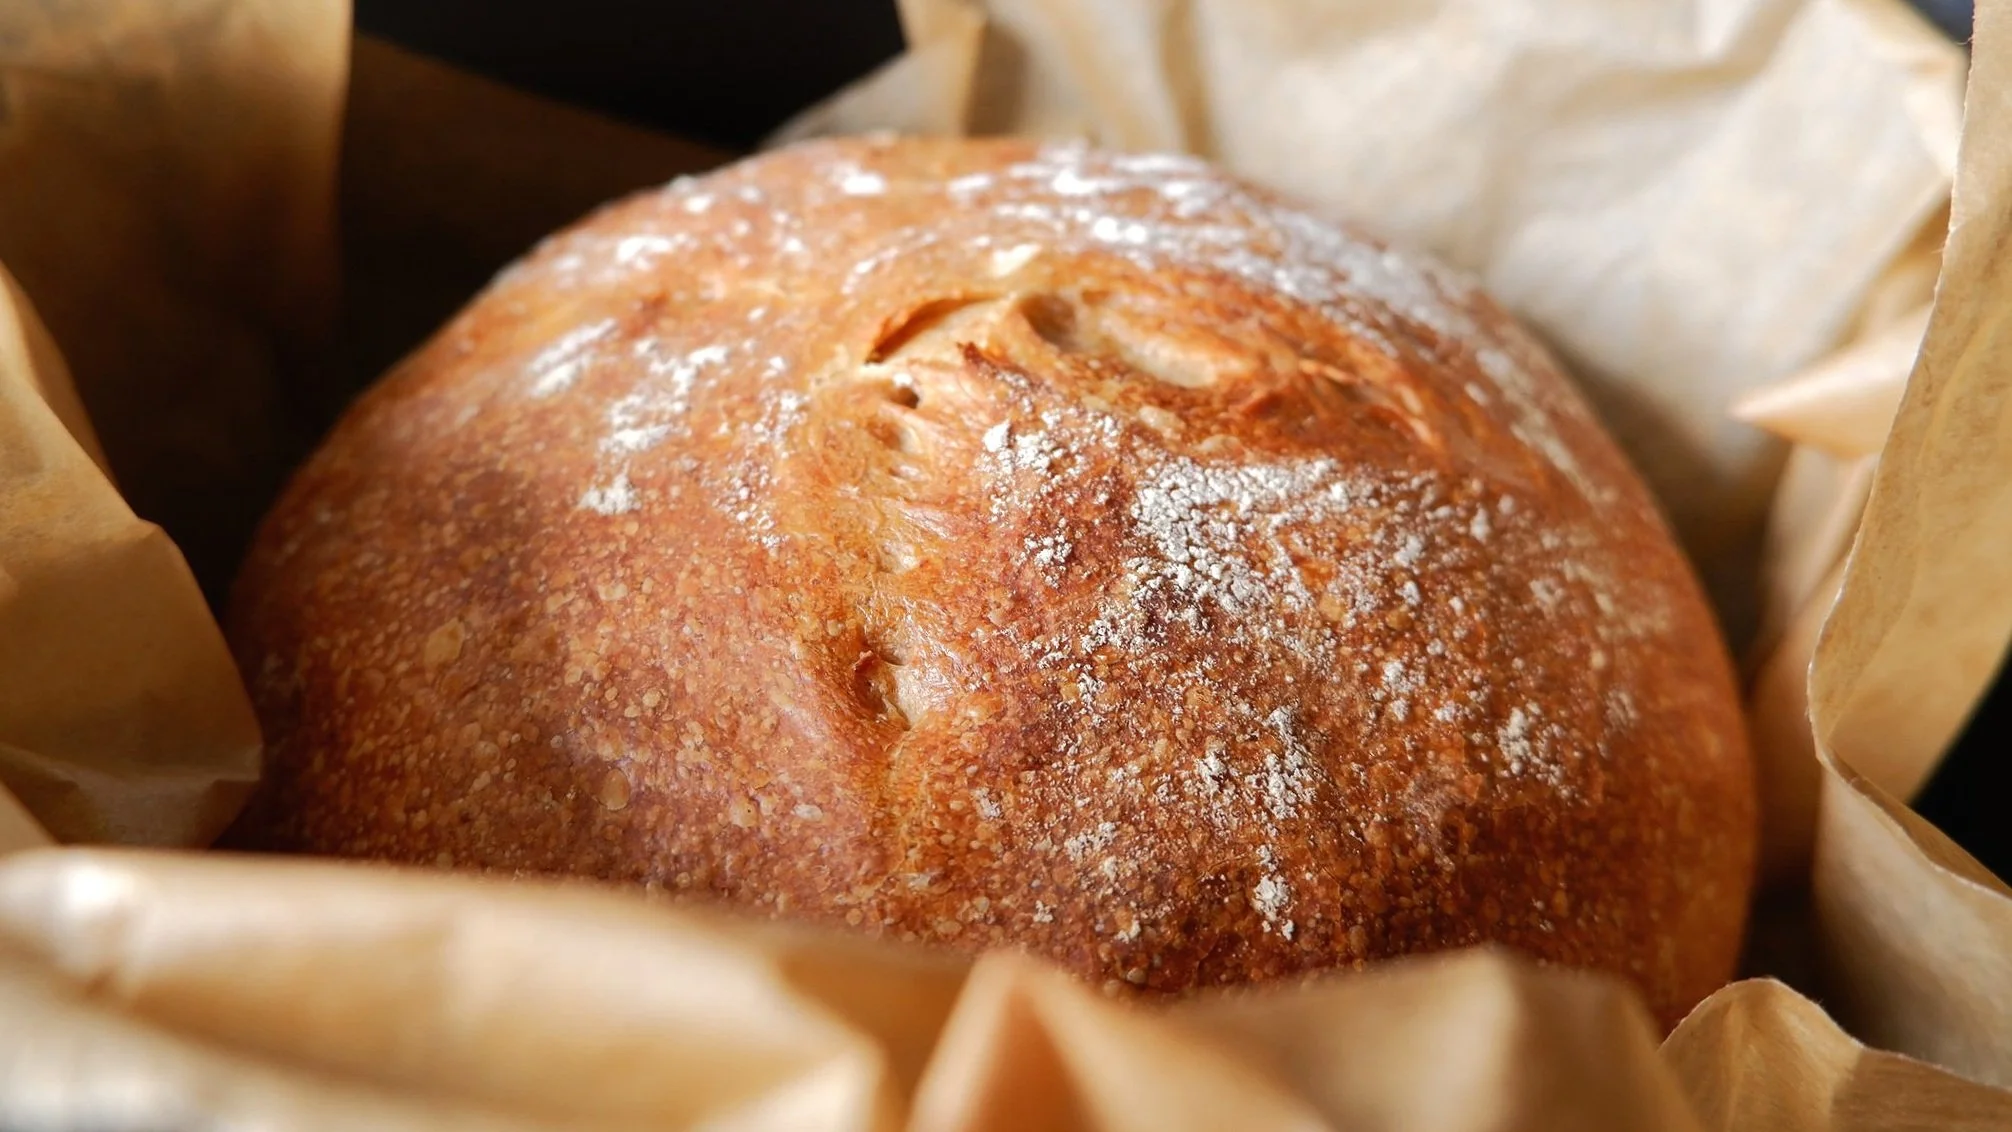
Get those bubbles!
You’ll start with a bubbly, active sourdough starter, and end up with a light, bubbly sourdough loaf. Amazing to tuck in to - a favourite for the whole household!
Note: There are a few rounds of resting, rising and proving with a sourdough. The time you need to let it rise depends on the temperature where you are. If you are doing the bread in warmer months, 2-6 hours might do the job, whereas in colder periods it might need more like 8-12. So keep this in mind when you start the process, as you might for example want to do the big rise overnight!
I learned a lot about sourdough baking from The Clever Carrot, and can’t thank Emilie enough for her amazing guidance when I first started out as a sourdough novice. You can check out tons of fantastic sourdough recipes on her website if you are ready to be a bit more adventurous. However, this recipe is a nice basic one, and altered by me over time to fit what has worked in my kitchen and for my taste (lower salt content for example, and some slight shortcuts in method).
Basic Sourdough Bread
Makes 1 loaf (double recipe for large loaf or for 2 loaves)
Total time: Depends - see above!
Ingredients
150g active sourdough starter
250g luke warm filtered water (or a bit more for a softer dough)
25g olive oil
500g strong bread flour (white or wholemeal, both work - choose a flour with high protein content)
5g fine sea salt
You also need either a dutch oven that fits your loaf, or any other appropriate tin or dish, ideally with a lid. You don’t have to bake sourdough bread with a lid, but it can be a lot easier to get great results this way.
Step 1: Mixing
In a large bowl, mix starter, water and oil. Bit by bit, add the flour and salt. When everything is mixed well, but the dough is still kind of messy and shaggy, cover with a damp tea towel and let rest for up to one hour.
Step 2: The Big Rise
Next, form the dough into a smooth ball and cover again. You don’t need to knead the bread, but you can stretch the sides and fold them over a few times towards the middle, this adds air and height and works really well for me. Now it needs to do the big rise, which can take anything from 2 to 12 hours - depending on a lot of factors! If you have a proofing “machine” (like a Magimix Cook Expert or similar) where you can control the airflow and temperature, you may not need more than 2-3 hours. The same goes for when you’re baking in very hot months of the year. However, most of the time you’ll need a good 6-8 hours, and in the cold months more like 8-12. (In the winter I mix everything in the evening and let it rise overnight). What you’re looking for is a dough that has risen to twice it’s size. If you are letting it rise in the bowl you have been using, cover it with a damp towel or two.
Step 3: Shaping the dough
Take the dough out of the bowl it has been rising in, and shape it to a nice, round ball (or whatever other shape you want, of course!) - again, you can fold the sides in towards the middle and then turn the dough upside down so the smooth side is up. Use your hands and/or a cutting tool to control the shape. Place the dough into your dutch oven or other bread baking dish - which should be covered in baking paper and a bit of flour to avoid any sticking.
Step 4: Second rise (proving)
Now the dough needs to rise again, but not for very long. 1 hour (or less on hot days) should do it, it doesn’t need to double in size. Cover your dutch oven with a damp towel - you can add the lid on top as well if you like.
Step 5: Oven on, scoring the dough
Towards the end of the rise, turn your oven on to about 230ºC (450ºF). Just before the bread is ready to go in the oven (when the oven is at temperature), score the dough. That means, you take a sharp knife and cut into the dough - a straight line across, or in a cross pattern like you’ve probably seen in photos of lovely freshly baked bread. This is to let steam out as it is baking. You can play around with patterns too!
Step 6: Baking!
The bread is ready for baking! The dutch oven goes in, lid on, and you turn the heat down to 200ºC (400ºF). Every oven is different so you’ll have to experiment here, but for me the perfect time in the oven is 30 minutes with the lid on, and then a further 30 minutes without the lid - 60 minutes in total (a bit longer when I double the recipe). If the bread isn’t quite hot enough (you want 96-98ºC internal temperature, 205-210ºF), but the surface is getting quite dark, you can put the lid back on towards the end.
When the bread is done, put it on a wire cooling rack and try to fight the urge to cut into it too soon, let it cool (otherwise it will dry out much quicker). ENJOY!
Don’t be discouraged if your first sourdough loaf isn’t perfect in every way - the fun is in improving and experimenting! That amazing, distinct smell filling your kitchen will be so satisfying. I’d love to see your sourdough bread! Share on Instagram and tag @TheFromScratchBody and hashtag #TheFromScratchBody so I don’t miss it, or email me a photo!