
3, 4, 5 Bread
This is the PERFECT solution for lives where timing and planning can be difficult and you need to grab the opportunity to bake a loaf of bread when you have a little bit of time. Insanely quick to mix together, quick to rise, quick to bake - but 100% homemade and a huge improvement on shop bought!
Dare to let it be sticky!
I know I have a lot of recipes and posts on here about slow rising and sourdough, and I am still a big advocate for that; slow rising bread (as you can read about here) is certainly better for our bodies, and even better still is sourdough and fermented food. However, bread is a hugely useful thing to have in the house for most of us and sometimes life just ain’t lifeing the way you’d like it to life. To time a sourdough bake to when your starter is active or to be able to follow through with baking the slow rising dough you started last night isn’t easy in every chapter of life, it certainly isn’t for me right now with young children. And the temptation of buying shop bought bread creeps in quickly. Bread disappears fast and it can feel overwhelming to keep on top of the demand.
This is why this quickest-of-the-quick bread recipes is my absolute saviour. I call it the 3, 4, 5 Bread. A very simple name to remember quantities. Actually, for me this is usually the “1,5, 2, 2,5 bread” because I use a small bread tin, but I thought that was less catchy (and you may as well make a big one if you have the tin for it!).
This recipe uses cups to measure. Some of you don’t love that, and feel (rightly so!) that it is a bit less precise. Now, besides the fact that 3, 4, 5 is easy to remember, I also really encourage using cups as measurement over grams and millilitres, because it pushes you to be a bit more intuitive with your baking and less about just trusting a line or a number. Using your eyes and touch in baking, doing it again and again, will help you trust yourself and move you towards experimenting more and feeling confident in trying new things!
There’s no kneading involved here, and I would recommend that you use the opportunity (as you don’t have to get your hands involved) to be brave and let the dough be sticky. It’s a big part of how the bread will end up both moist and squishy on the inside, yet have a lovely crispy crust. You can start to experiment with what works for you in terms of flour here (do a bit of wholewheat, rye, spelt etc to replace some of the regular white), and I also highly recommend incorporating something else for nutrition and flavour - a couple of my favourites are milled flaxseed and shelled hemp seed, you can also add some sunflower or pumpkin seeds on top or inside the bread, or sprinkle some poppy seeds on top. Now I know I have spoken before about not putting your seeds on top of the bread, however if you manage to get a really wet and sticky dough this might work quite well.
And another tip I can share with you to make your life as easy as possible; when you have put the dough in the bread tin (or cloche or whichever way you are baking it), clean up your bowl and utensil straight away. Whether you use cold water like I recommend here or warm, either way - cleaning up anything that has had sticky dough on it ASAP is definitely doing your future self a favour.
So the last thing I want to say about this bread is that, as I’ve spoken previously about one of the benefits of a slow rise (or a sourdough) is the need for less or no commercial yeast. This bread uses quite a lot of yeast, and warm water - both help your dough rise quicker. So if you have the time or opportunity to do a slower rising bread, definitely check out my other recipes and sourdough content! This one is a super solution for those busiest of the busy - even with quite a bit of yeast and a quicker rise, it is so much better than all the other processing and ingredients you get from shop bought bread. It’s also a fantastic introduction to baking for little ones, as they can see the whole process happen a bit faster, and understand the concept of something going from dry and wet ingredients mixing, becoming a dough, and then turning into a delicious, freshly baked bread!
3, 4, 5 Bread (quick homemade bread)
Makes 1 large loaf
Prep time: 5 minutes | Rise: 1-2 hours | Baking time: around 45 minutes
Ingredients:
3 cups of lukewarm water
4 tsp dry active yeast
5 cups (roughly) of flour (I use white bread flour)
A pinch of salt (I’d say no more than 1 tsp is necessary, but use your preference)
Any added nutrition you’d like: I love popping in some hemp seed and flax seeds, and topping it with pumpkin seeds - all of this is of course optional!
Also needed:
A bread tin (a large fits the above quantities, a small tin will need you to halve them)
In a large bowl, add the water and yeast. Mix gently with a fork and let it sit for a few minutes. Then add in the flour bit by bit (and any other seeds) and the salt. Mix until you have an even dough, but unlike most bread doughs that you might be used to, this doesn’t need to be a firm ball. Let it be sticky. That way you will get a super crispy crust and a moist and chewy bread on the inside. Mix it well with a wooden spoon, you don’t need to knead it at all. Cover with a tea towel or two and put aside to rise in a place with even temperature for about 1 hour.
After 1 hour, turn your oven to 200ºC (about 400ºF). Cover your bread tin with baking paper (scrunch the paper up into a ball first to make it easier to place into the tin). Pour the sticky dough into the tin and cover with the tea towel again. Let it prove until your oven has reached the desired temperature and bake the bread for about 40-45 minutes (30-35 mins for a smaller bread). Do keep in mind that all ovens are different though and you may have to try and fail a bit until you find the perfect time for your bread in your oven.
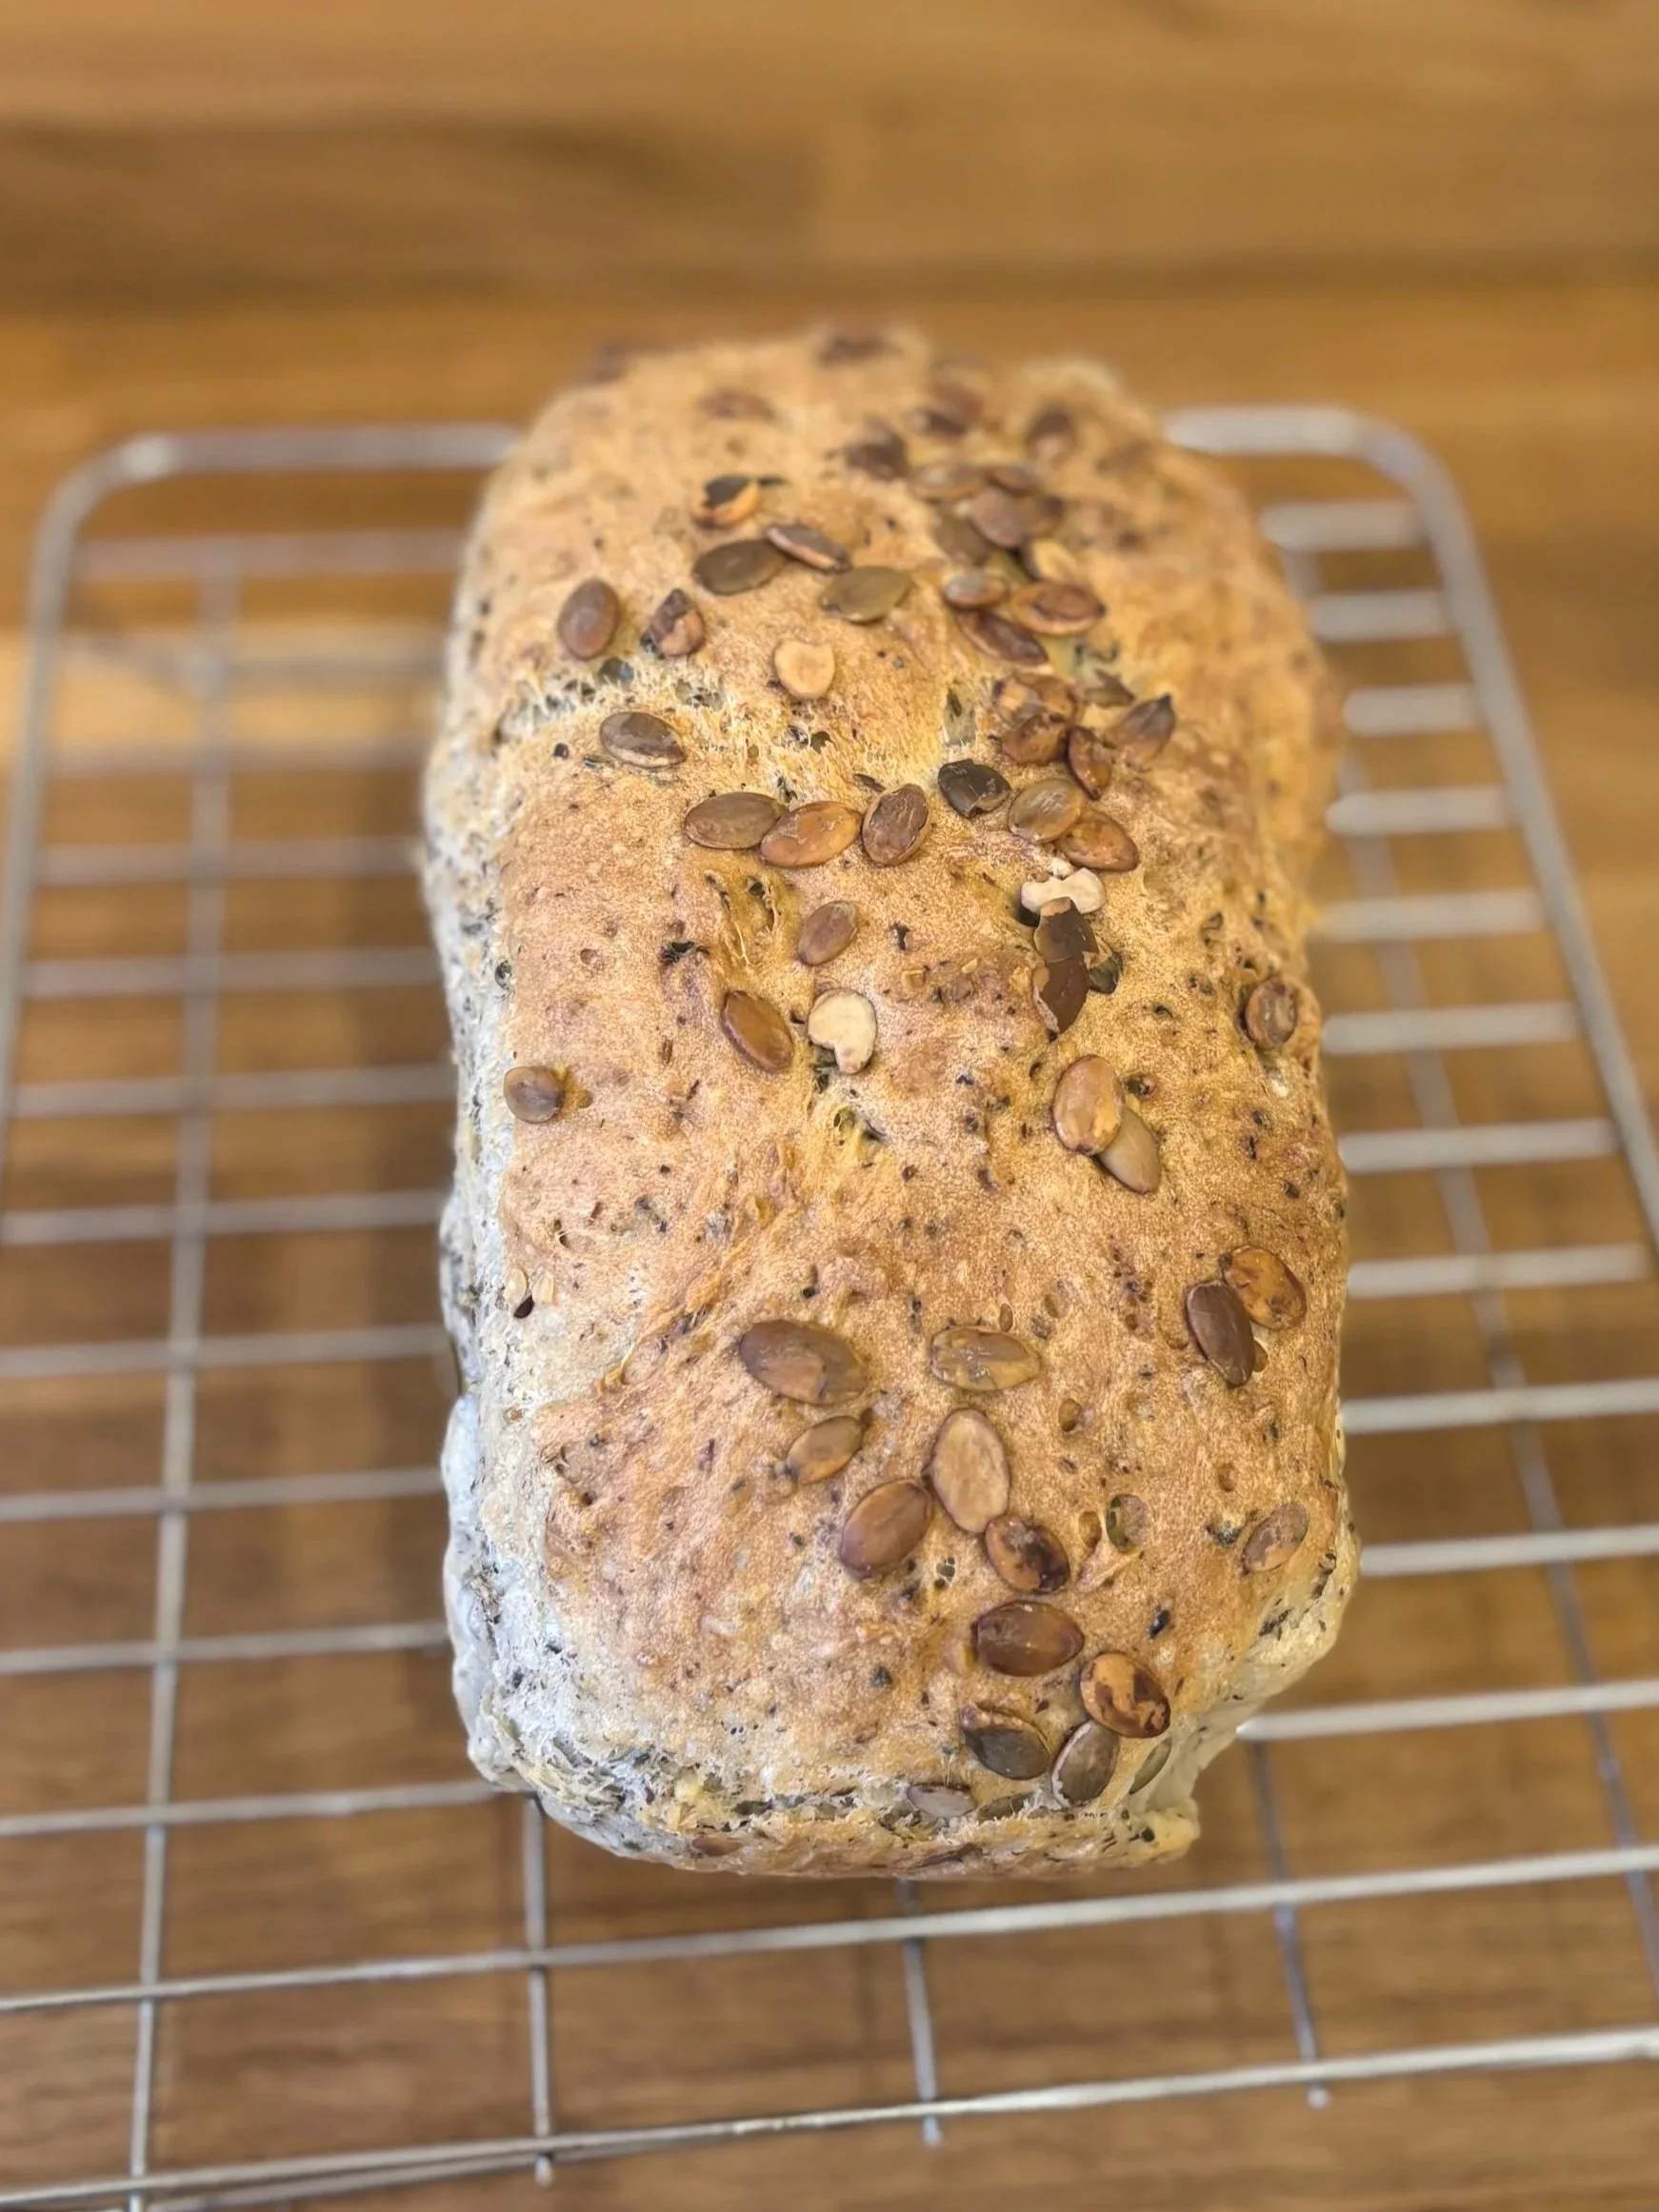
Take the bread out when it’s golden brown and quite hard (you should be able to “knock” on it like a door and feel like it’s quite hard) and let it rest on a cooling rack. I recommend just having it covered in a tea towel when it has cooled down (in a bread bin) rather than in a bag. It will disappear quickly anyway, I promise!
I’d love to see your bread and hear whether you think this will make you bake your own bread more often! Share on Instagram and tag @TheFromScratchBody and hashtag #TheFromScratchBody so I don’t miss it, or email me a photo!