
(Healthier) Sourdough Bagels
Making your own bagels is, for me, the pinnacle of baking. It’s actually an incredibly fun activity, and the result is absolutely to die for. I have done “regular” bagels in the past, now let’s give the sourdough version a go!
The most fun day in the kitchen!
If you have your active sourdough starter you can go ahead and make those with me!
Note: There are a few rounds of resting, rising and proving involved when baking sourdough. The time you need to let it rise depends on the temperature where you are. If you are doing the bread in warmer months, 2-6 hours might do the job, whereas in colder periods it might need more like 8-12. So keep this in mind when you start the process, as you might for example want to do the big rise overnight!
There are quite a few different steps to this process as you will see, but don’t get discouraged as making bagels is so much fun. It can be a great group activity for friends or family, like the steps of shaping the bagels and dipping them in toppings.
I learned a lot about sourdough baking from The Clever Carrot, and can’t thank Emilie enough for her amazing guidance when I first started out as a sourdough novice. You can check out tons of fantastic sourdough recipes on her website. However, I have made a few health based changes to the lovely bagel recipe she does (variation in flour, as well as lower sugar and salt content), and here is the result (tested many times. For research purposes, of course).
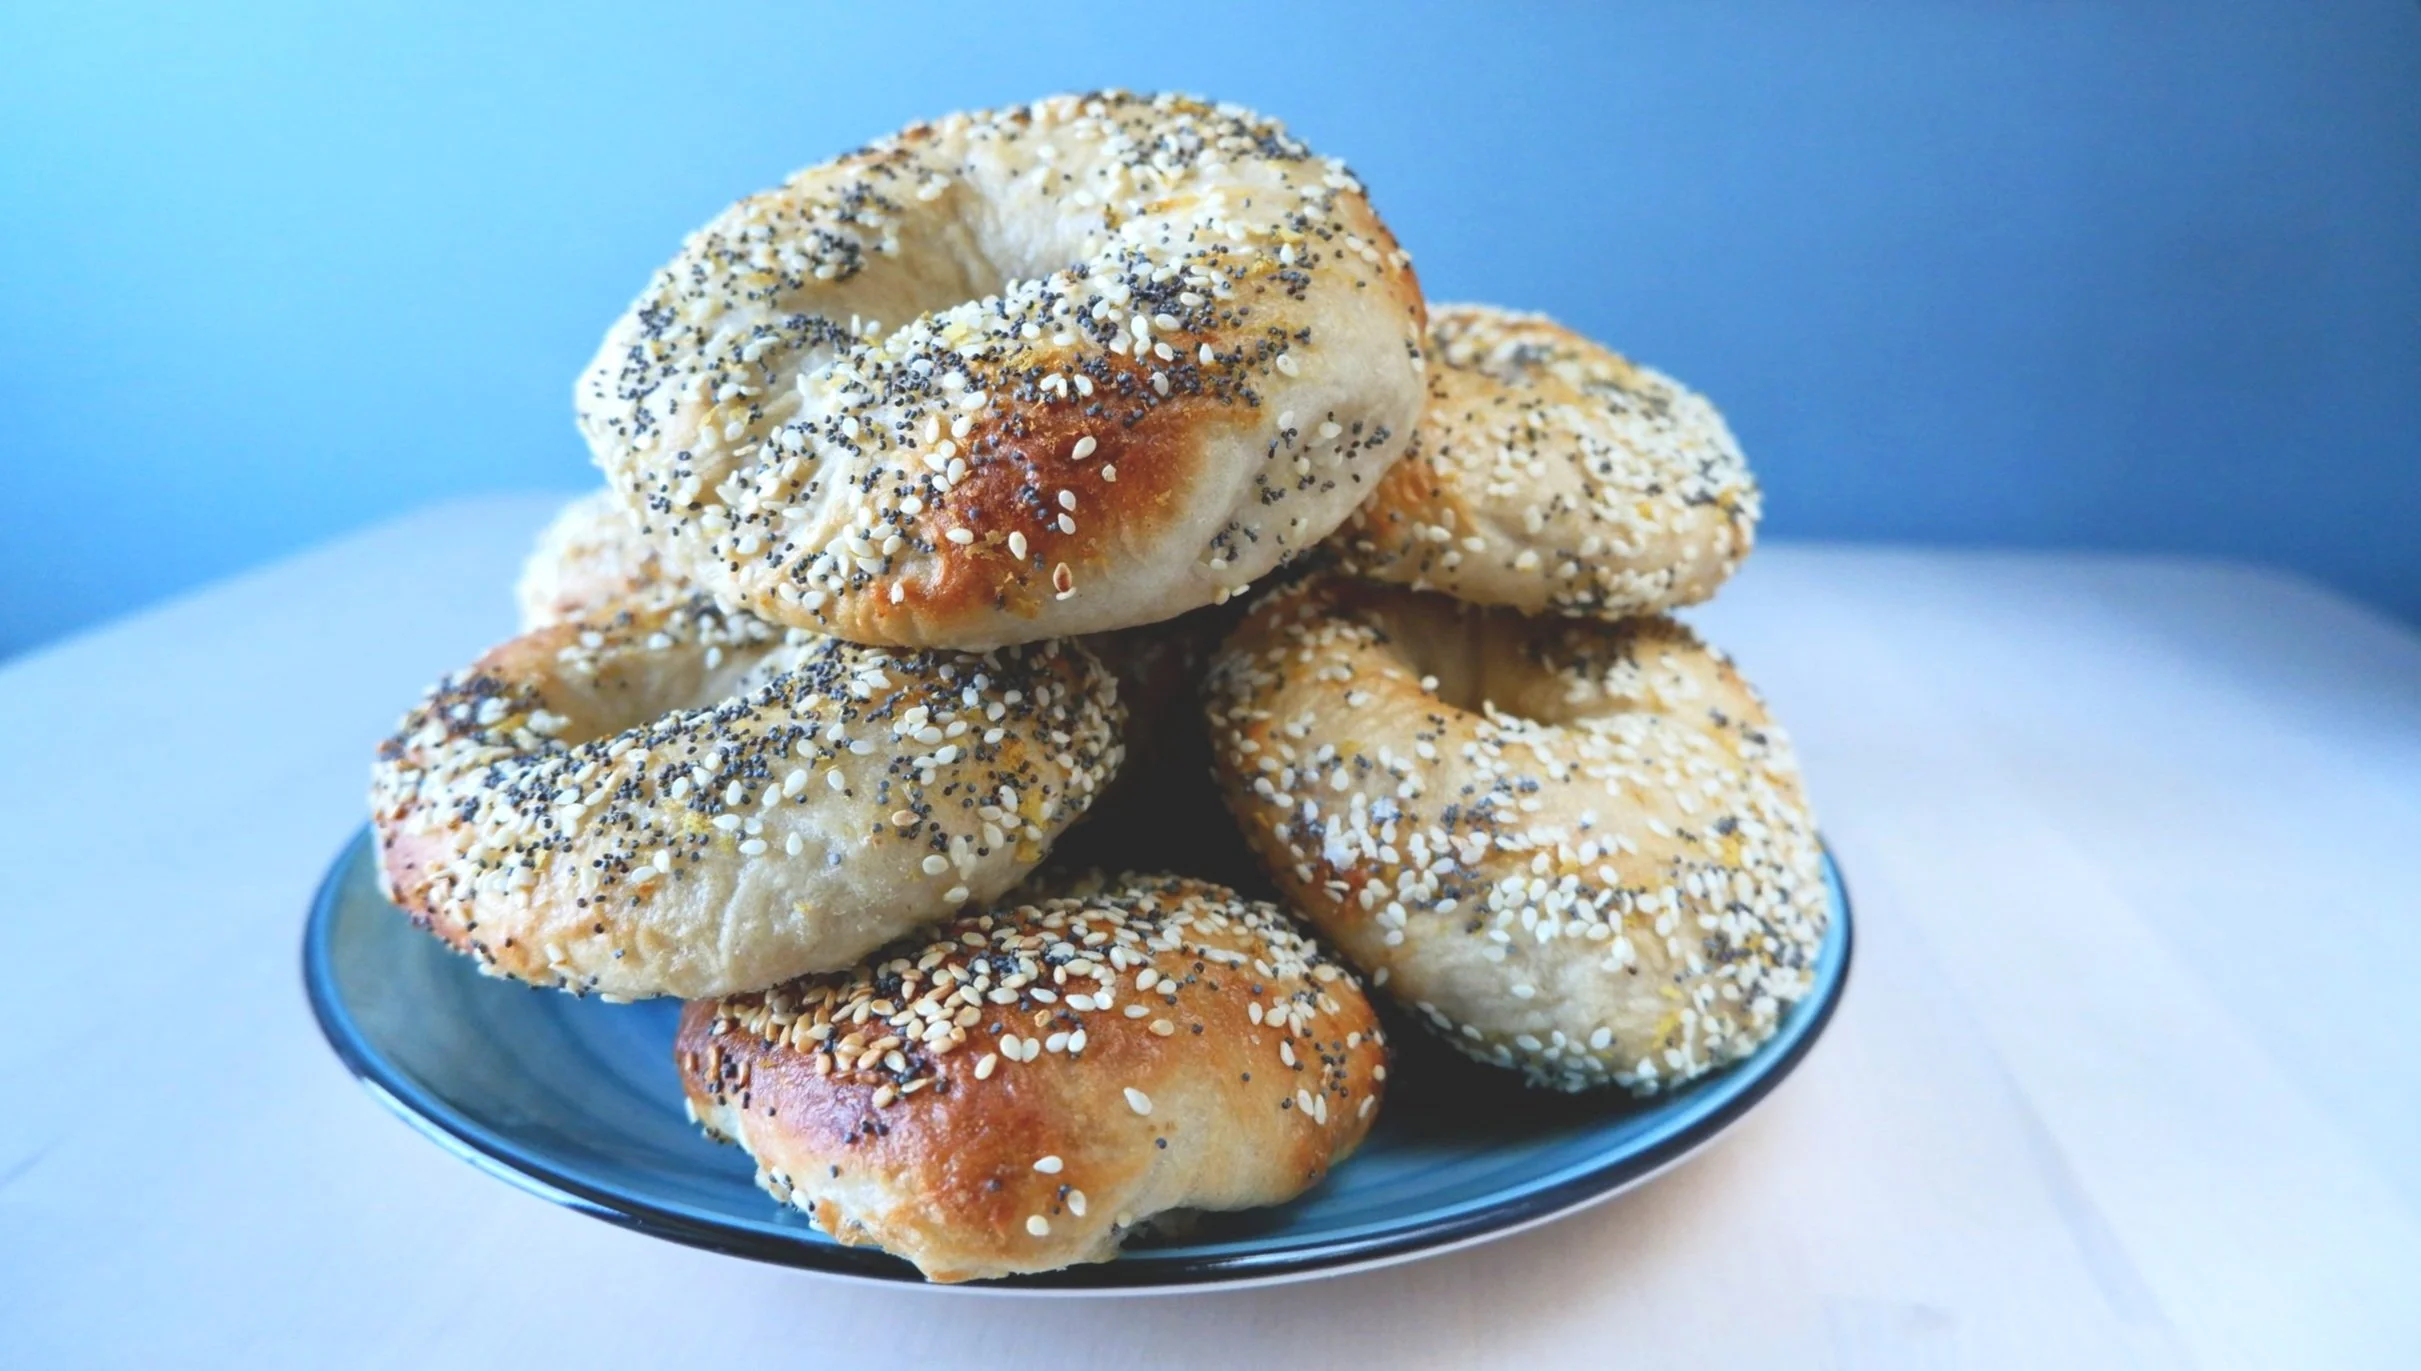
Sourdough Bagels
Makes 16 bagels
Total time: Depends - see above!
Ingredients
300g active sourdough starter
500g luke warm filtered water (or a bit more for a softer dough)
20g granulated sugar
500g white bread flour
500g wholemeal bread flour (or you can just use 1kg of white flour if preferred)
10g fine sea salt
Toppings: Your choice (you can do different toppings on different bagels too) of poppy seeds, sesame seeds, flax seeds, sunflower seeds, pumpkin seeds, pumpkin spice mix, everything bagel spice mix, nutritional yeast, sea salt flakes…
Step 1: Mixing
In a large bowl, mix starter, water and sugar together gently. Bit by bit, add the flour and salt. When everything is mixed well, but the dough is still kind of messy and shaggy, cover with a damp tea towel and let rest for up to one hour.
Step 2: The Big Rise
Next, form the dough into a smooth ball and cover again. You don’t need to knead the dough really, just make sure you have a smooth, nice, even dough. Now it needs to do the big rise, which can take anything from 2 to 12 hours - depending on a lot of factors! If you have a proofing “machine” (like a Magimix Cook Expert or similar) where you can control the airflow and temperature, you may not need more than 2-3 hours. The same goes for when you’re baking in very hot months of the year. However, most of the time you’ll need a good 6-8 hours, and in the cold months more like 8-12. (In the winter I mix everything in the evening and let it rise overnight). What you’re looking for is a dough that has risen to twice it’s size. If you are letting it rise in the bowl you have been using, cover it with a damp towel or two.
Step 3: Dividing the bagels
Cover two oven trays (the largest you have) with baking paper. I recommend lightly coating with cooking oil/spray to prevent the dough from sticking (which can happen after it’s been in the water, see later steps).
Take the dough out of the bowl it has been rising in, onto a floured work surface. Cut into 16 equally large pieces. You can even weigh these to make them identical if you want, aim for about 115g each.
Roll each piece into a ball and let rest on the baking trays for 10 to 15 minutes.
Step 4: Shaping the bagels, second rise
Take one ball at a time and make a hole in the middle of it with your finger. Stretch the hole gently - make the hole larger than you are used to seeing in a bagel, remember they will expand both in the water and in the oven, so this hole gets smaller again! I find it easiest to hold the ball up in front of me and stretching it by going around in a circular motion. (I’m realising I should do a video on my YouTube channel for this). Put the bagels back on the trays and cover with damp towels, let them rest/rise (they will just gently rise at this point) for about 20 minutes.
Step 5: Simmer the bagels (the most fun!)
Towards the end of the rise, add a large amount of boiling water to a saucepan. I like using a wide saucepan (or a deep sauté pan) so that I have space for more than one bagel at a time here. Add honey to the water and whisk.
Add 2 or 3 bagels in the pot and let them simmer in the boiling water for about 30 seconds to a minute on each side. Transfer the simmered bagels back to the baking tray using a slotted spoon, to avoid bringing too much water with you onto the tray.
Step 6: Dipping in toppings and baking!
Turn your oven on, to 220ºC (210ºC for a fan assisted oven, 425ºF).
On a plate or not-too-deep bowl, mix together your chosen toppings. If you are doing different toppings for different bagels, you can of course have a whole station of bowls (or take it in turns in one bowl). Family tip: The bagels should have cooled down a bit now, so this is a perfect step to have little helpers assist with, if you like!
Dip each bagel in the toppings, make sure you dip the rounder/prettier side that looks like the natural top! Place back on the tray and bake in the oven for 20-25 minutes depending on your oven (each one is different), flip them and do a couple more minutes where the bottom gets to cook.
Let them cool on a wire cooling rack and… oh who am I kidding. Eat immediately!!
The bagels will stay nice and fresh for a couple of days but can get a bit hard after that, so after they cool I recommend freezing a few so you can enjoy them as fresh without wasting a single one!
Don’t be discouraged if your first sourdough projects aren’t perfect in every way - the fun is in improving and experimenting! That amazing, distinct smell filling your kitchen will be so satisfying. I’d love to see your sourdough baking! Share on Instagram and tag @TheFromScratchBody and hashtag #TheFromScratchBody so I don’t miss it, or email me a photo!